Ambition versus Reality 

It’s been a while since I posted.  I was learning another lesson–when you’re starting gardens and livestock from scratch (and with very little experience), spring is BUSY!  I’m still behind on all of the things that I’m working on or that I’d hoped to be working on by now, and I’m re-evaluating what is reasonable for me to accomplish.

Does this feel like failure? Not in the least, but it IS frustrating that I’m having to scale back what I felt were reasonable goals.  I can see how some folks would feel this as a personal failure.  I think this is the point that the “old timers” talk about.  You know, the proverbial separation of the boys from the men.  This is where less hard-headed folks would throw in the towel, but not me!

So I’m not going to have my Fall Garden this year, so what? I just bought myself a full year to work on planning it to make it the best that it can possibly be.  So what if the chickens have to cram into their too small house for a couple of extra months?  They have a huge run and are happy and healthy and growing like weeds.  Now, I have the time to make sure that their new coop is all that they and I could ever want it to be.

This journey, no, this LIFESTYLE isn’t about easy or pretty or trendy or any of the other things that you might see on blogs or read in articles; it’s about perseverance. It’s about knowing what your goals is and sticking through all of the bumps in the road to get there. It’s about recognizing that sometimes bumps and set backs will bring you more success in the end.

With all of the talk about all of the things that I haven’t done yet, I thought I’d share some new pictures to show you that even though I haven’t met my initial goals, I still have plenty to be proud of!

The annuals, container garden, and the grass that needs to be mowed!

More grass that needs mowing (but at least the dogs have some now!) and part of the chicken run with their adorable, but too small house.

The new shed which I’m working on converting part to house the chickens. The “tea cup planter” and a wildflower bed that’s run amuck! And more grass that needs mowing.

The morning glory bed and the sunflower patch/garden. The garden is 8 feet by 8 feet and my vegetables are growing like weeds in it!

Our flock. 1 Barred Rock Rooster (Darth Vader), 2 Buff Orpingtons (Sunshine and Doris), 2 Easter Eggers (Roxanne and Layla), and 1 Silver Laced Wyandotte (Emily).

Morning Glory bed/privacy maker for the fence

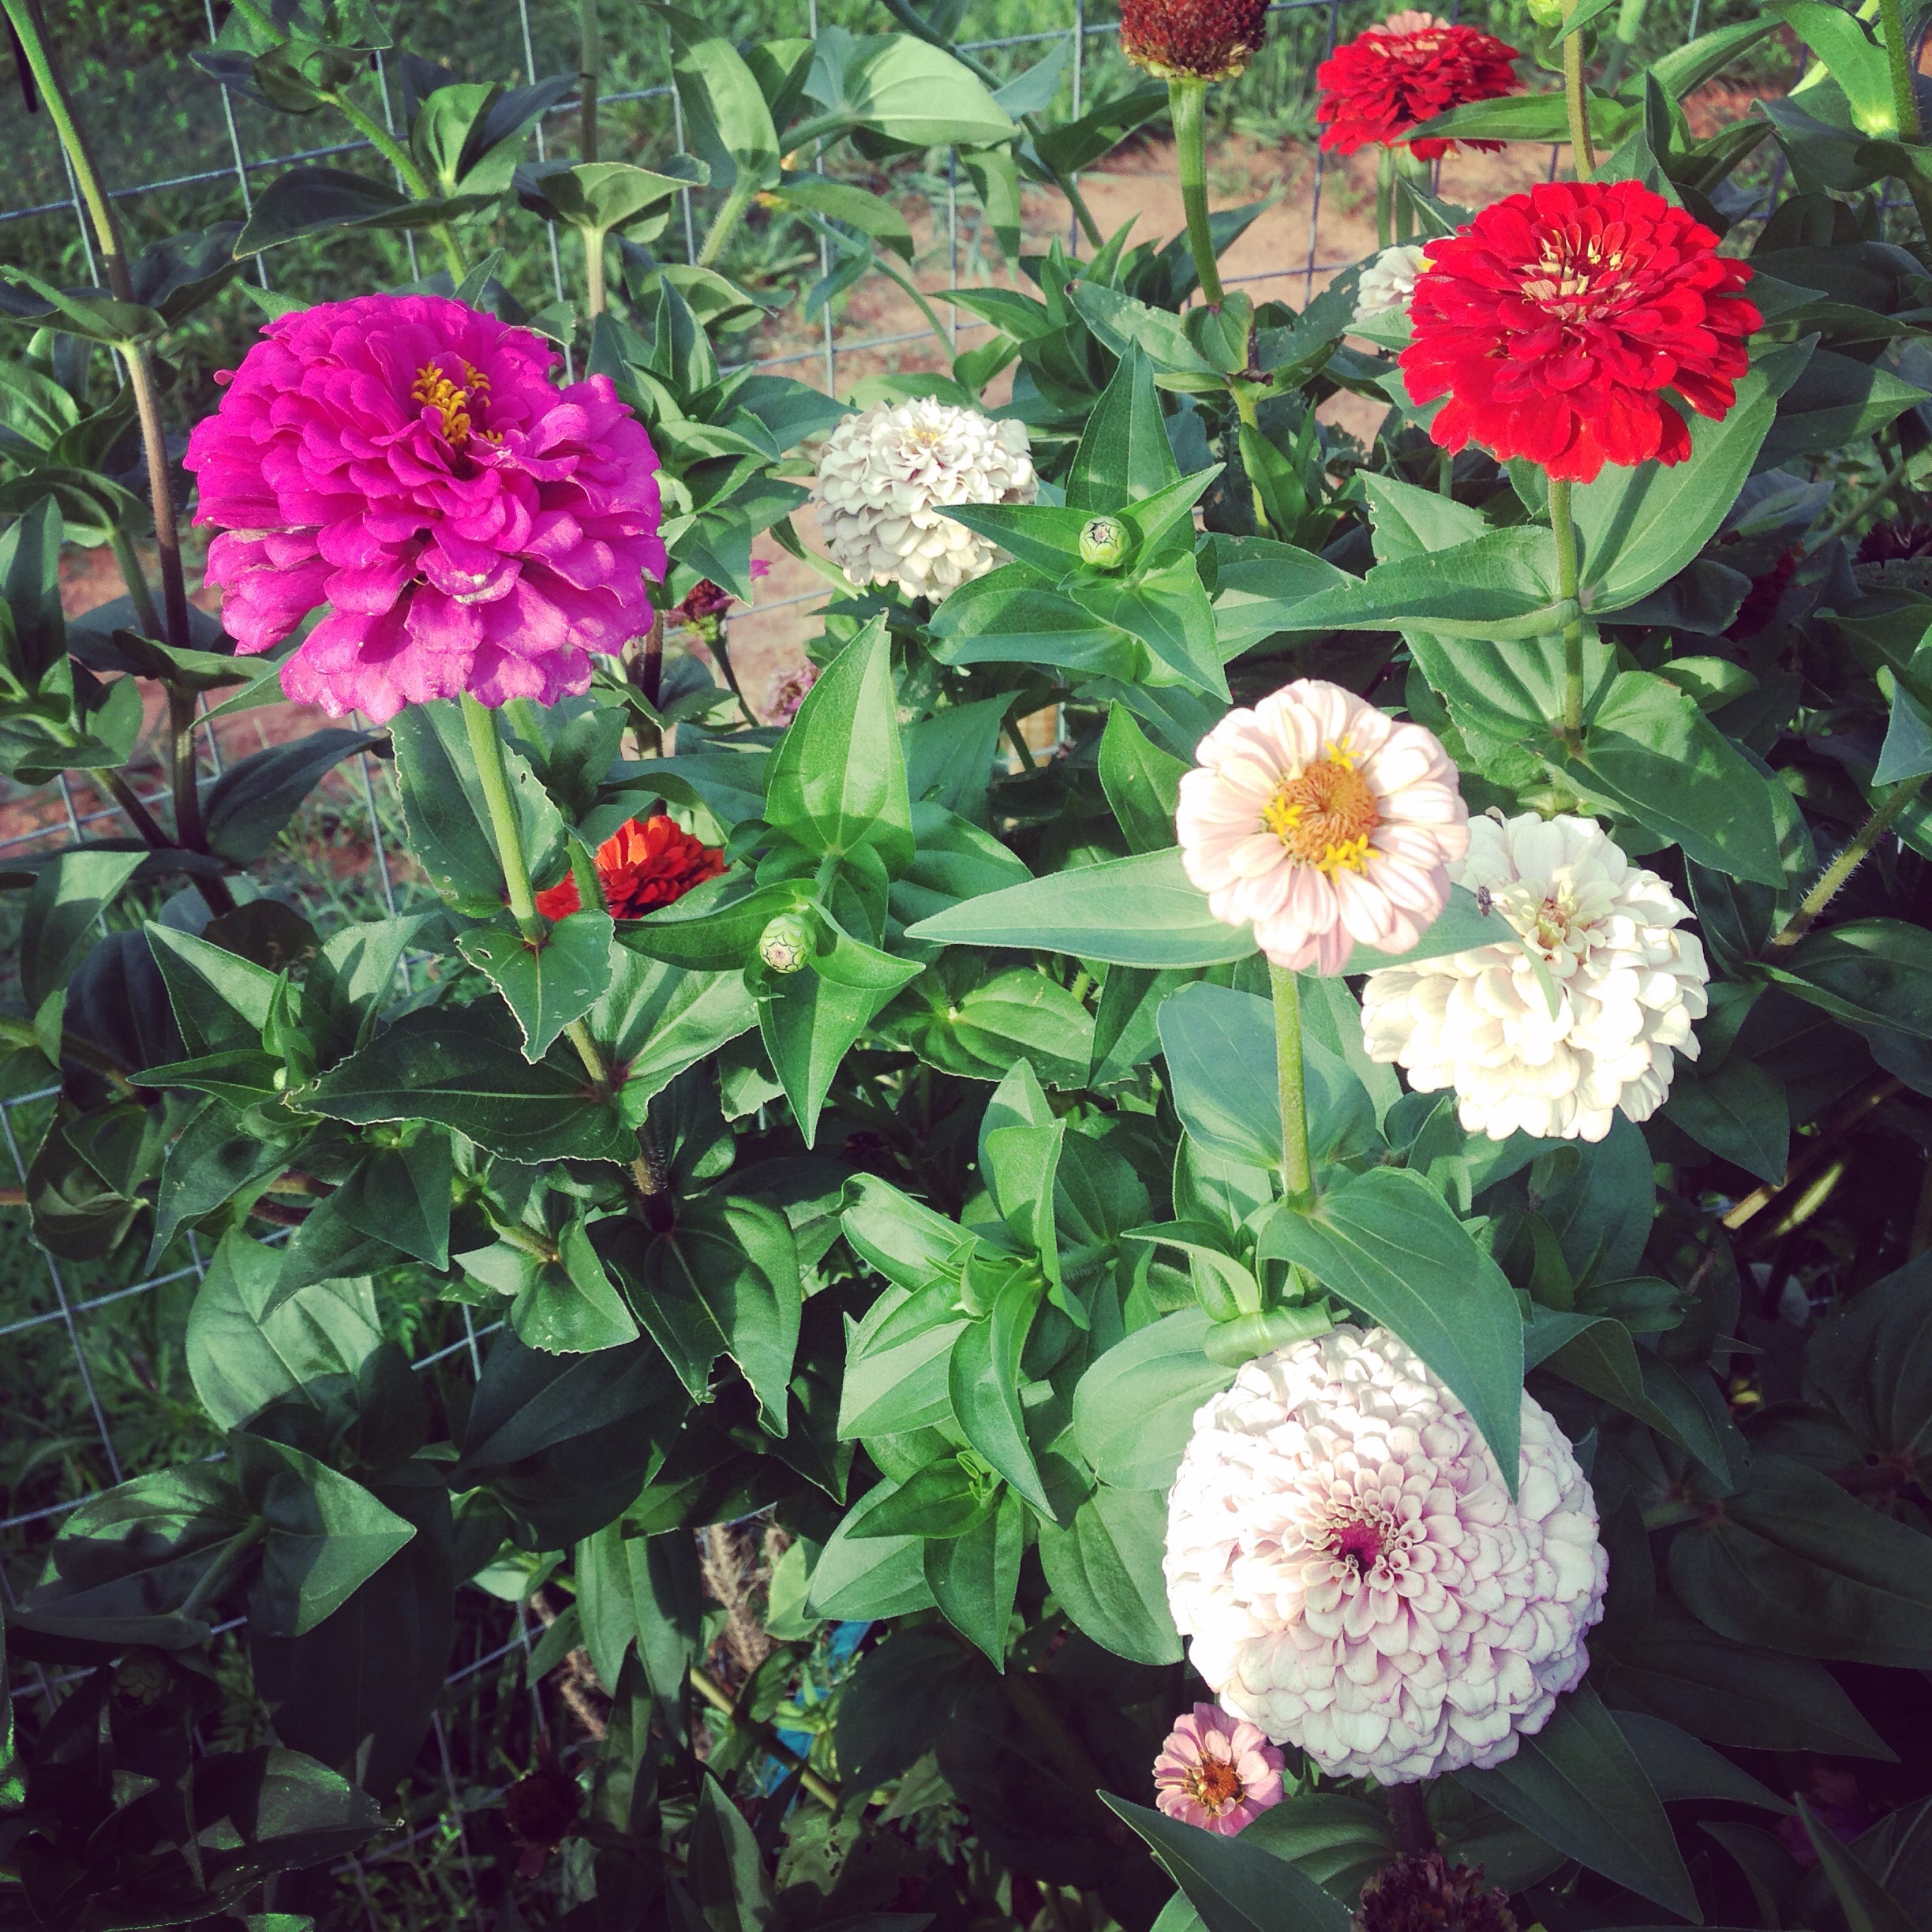
Closeup of the “tea cup planter” and all of the gorgeous zinnias that are blooming in it

Inside of the shed. I’ve started white washing the portion that will be used to house the chickens.

A baby cantaloupe!

The front flowerbed…before the heat got it. It was so beautiful.

My completely raised bed garden. I haven’t had very much luck with the things I planted here. I don’t think the soil mix is very nutrient rich.

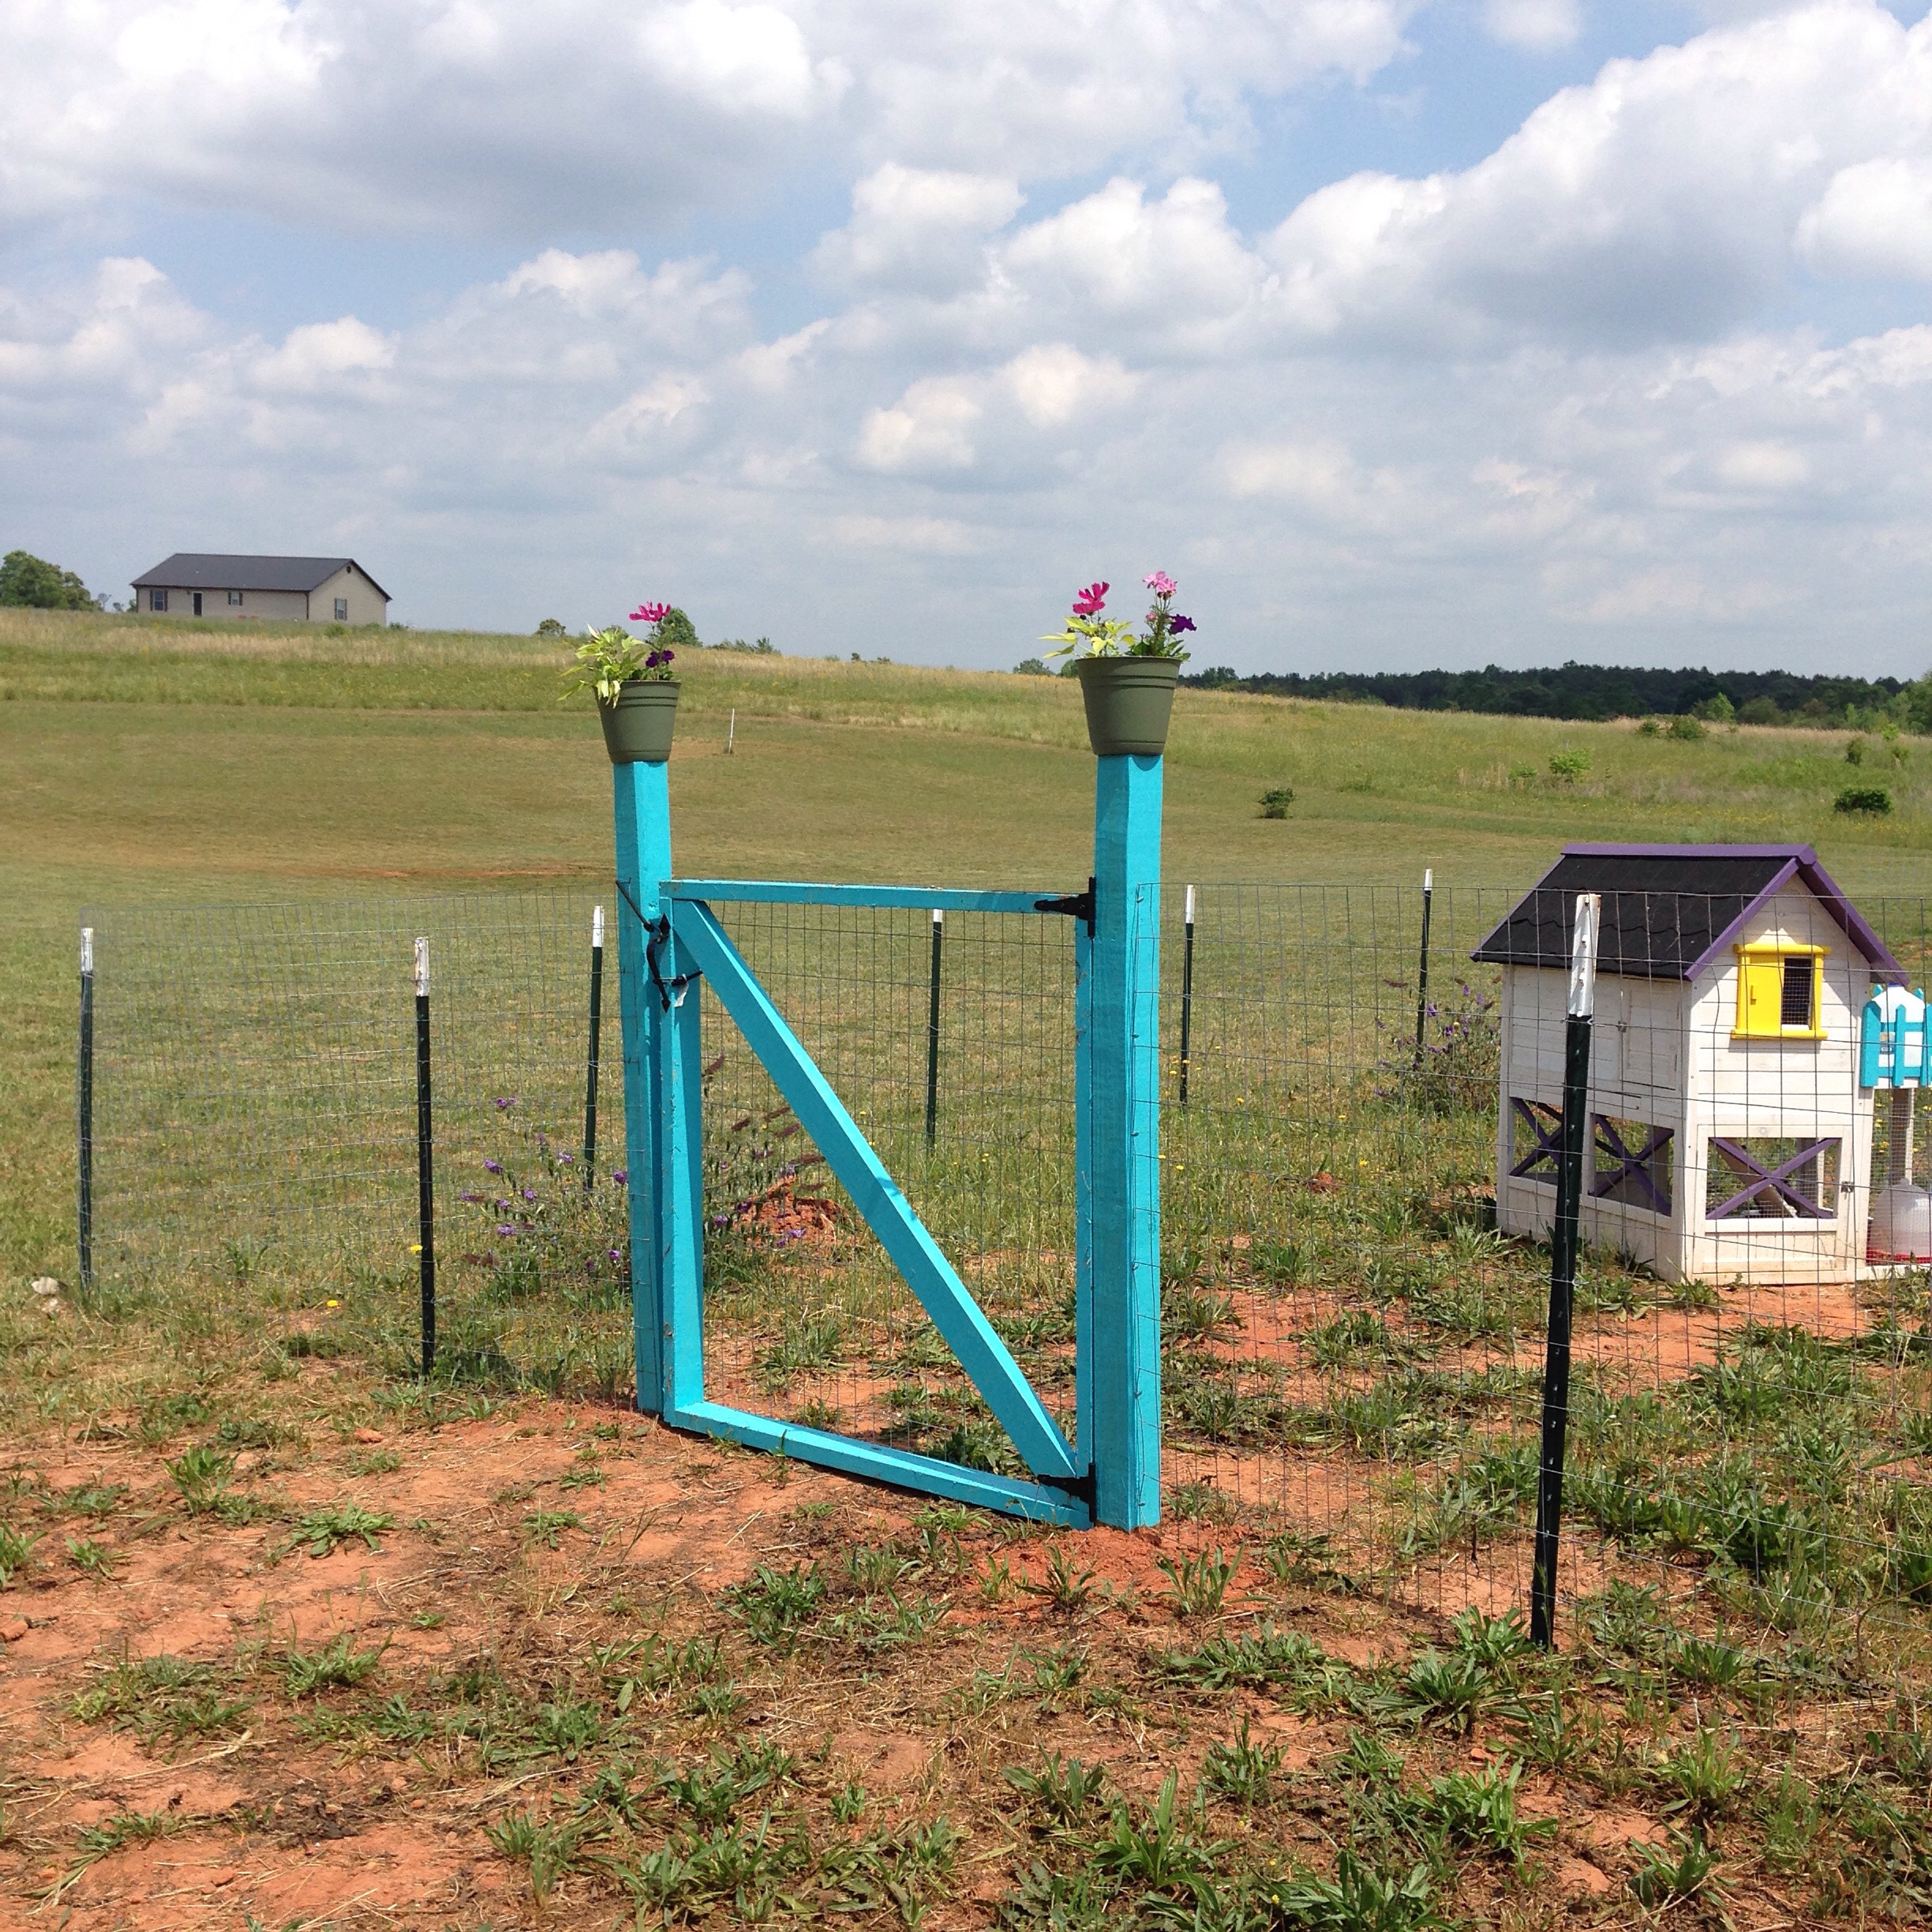
This is the Ugly Gate. It is the first thing I ever built myself. It is beyond hideous, but it’s so sturdy that I love it.

The sunflower patch

For more frequent updates, check me out on Twitter @Farminated on Pintrest @Farminated on Instagram @Farminated And on FaceBook . Also, please tune in on August 3rd at 1pm Central time to The Gardening Network where I will be answering questions about my journey!

The Chicken Palace is here

The chicken palace arrived this week. Two very heavy boxes were dropped off at the road on Wednesday by a delivery guy in a very big truck.  I did get the surprise of a pallet along with the chicken palace!

The added bonus.

The added bonus.

I’m still deciding what to do with it, but I’m thinking compost bin.

Megan and I hauled both of the heavy boxes and the pallet to the back of the house, through all the mud from Tuesday’s torrential rain and I got it all unpacked without having a heat stroke.

Pre-assembly

Pre-assembly

We already knew that the country blue accents didn’t really fit our personalities, or the personality of our backyard so painting was going to happen.  As you can see in the picture, I tried to just spray paint the parts that I could before assembly, but that was a disaster.  The wood didn’t take the paint very well and it looked horrible.

The freshly painted chicken palace!

The freshly painted chicken palace!

I was surprised, given that the coop was a “crappy, made in China, pre-fab” at how sturdy, well made, and easy to put together the whole thing turned out.  Megan helped me get it put together, and it took us less than an hour.  It could have been done quicker but I kept double and triple checking every single screw.  I spent another couple of hours painting it and TA-DA!

One thing that I realized after it was put together is that while the coop itself is big enough for the six ladies we plan on housing there, the run is woefully inadequate for happy, egg laying chickens.  Not to worry because after much head scratching, I have a plan!  It was actually always in the plan, just we were going to wait until next year.

I’ll be stapling hardware cloth to the underside of this entire structure.  Not only will it make the coop much more predator proof, it will keep the chickens from destroying any grass in the area under the coop.  They’ll be able to eat the grass, just not tear it up by the roots.  Also, we’ll be installing another 100 feet of fencing just like what we installed to create our backyard area.  This new area will house various fruit trees and berry shrubs as well as a couple of grape vines.  These plantings will give the chickens places to hide and avoid overhead predators during the day.  So, we’ll be getting fruits and berries a year sooner, and the chickens will be getting about 1300 square feet to “free range” in while being as shielded from predators as possible.  Everyone wins.

On the gardening front, this past week brought a nice, gentle rain that really made the garden smile.

Annuals

Annuals

It also brought a torrential downpour that almost killed all of the annuals we planted and washed out a portion of the vegetable and wildflower gardens.  I’m not sure of the exact extent of the damage, because we’ve only had a couple of things sprout already. IMG_1973 The peas are growing like weeds, despite the punishing rain, so there’s hope for everything else still!

Free Planters for the creative cheapskate 

What does a giant pile of old tires have to do with gardening?!?!?!  I know that’s what you’re asking right now.  Let me tell you, it has a LOT more to do with it than you might think.  Especially if you’re broke and looking for cute gardening ideas.

I grew up seeing “old people” use white washed tires in their yards for everything from planters to driveway borders and I can tell you, that is NOT what this post is about.

This is NOT your Grandmother's tire planter!

This is NOT your Grandmother’s tire planter!

Pintrest opened my eyes to all of the wonderful things that can be done with tires that are destined for the landfill.  Painted in bright colors, these old tires can really help add some unique pops of color to your garden.  They can be lined with newspaper and used for a successful square foot garden that will yield TONS of fresh vegetables in very little space, all while looking good!

I found a little inspiration and made an adorable teacup planter with some of my old tires.

All this teacup needs is a handle!

All this teacup needs is a handle!

It was easier to do than I thought.  Yes, it lacks a “handle” because I couldn’t quite figure that out, but a friend suggested that a short piece of an unusable garden hose spray painted to match would make a great handle.  I agree, but I don’t have an unusable hose yet so I’m calling this one done!

It’s really not complicated, and something that can easily be tackled in just a couple of hours.

Make sure you're using 3 different sized tires.

Make sure you’re using 3 different sized tires.

The secret to getting the teacup shape is to use three different sized tires.  They’ll need to have at least a couple of inches difference in diameter.  I learned this the hard way when I thought that the top tire would be big enough to provide me with the “saucer” of the teacup.  It wasn’t.  I needed a tire bigger than that and so I had to go back to the garage and find one.

IMG_1801Having a sharp cutting tool is key to avoiding an ER visit and stitches when doing this project.  I use this tool as it has a quick change cutting blade and allows me to use a straight box cutter to start my cuts and a curved blade roofing blade to do the majority of the cutting.

For this project, you’ll only be cutting the walls of the tire so there’s no concerns about trying to cut through the steel belting.

You’ll need to remove the wall on both sides of your “large” tire, this will be the top of the teacup.  On your extra large tire, you only need to remove one of the walls, this will be your saucer.  On your medium sized tire, you can remove either one or both, depending on what works best for you.  I only removed one.  Spray paint all of the parts of your teacup BEFORE you put it together.  I waited to place the polkadots until after it was assembled.

All this teacup needs is a handle!

All this teacup needs is a handle!

Once your paint is dry, you can assemble your teacup.  I’d recommend fastening them together (which I DID NOT do, and so I have a tilted teacup!) using a landscaping adhesive or screws that you have laying around.

After it’s assembled, it’s ready to be filled with dirt!  You can line the bottom with landscaping cloth, or newspapers if you’d like.  Since mine was going to be sitting on dirt, I just skipped that step.

The onions really like their new home!

The onions really like their new home!

I planted my onions here, because they don’t really play well with the other plants that are going into the garden.  They are doing quite well in their new home and really seem to like it.  I make sure to water them every day because the soil WILL dry out quicker since this is a container.  Painting the outside of the tire will help to keep the soil inside from overheating once summer begins in full swing…and it makes for a much cuter teapot!

Do you have any cool up cycling ideas that use tires?  If so, I’d love to hear them!

Newspaper Seed Starters and Tomatoes

I have never grown anything from seed but I wanted to give it a try.  I knew I would need starters, but they’re SO expensive in the stores.  I did a little research and discovered that you can make your own biodegradable seed starters using newspaper, potting soil, and a soup can!  It’s easier than it sounds.  Here’s how I did it.

Ready to roll!

Ready to roll!

Take one page of newspaper and lay it flat.  (You may need to cut a double page in half.)  Fold from the bottom to an inch below the top. You can see that I started with a soup can but I found that it was too small and ended up using a Beef-a-Roni can to do the majority of my starter cups.  After you’ve folded the paper, just roll it around the can keeping it as even as you’re able.  Also, make sure before you start rolling that you leave a bit of the can exposed so that you’ll be able to pull it out of your cup easier.

Fold the paper as tightly as you can over the bottom of the can, taking care to avoid leaving a hole.

Fold the paper as tightly as you can over the bottom of the can, taking care to avoid leaving a hole.

After you’ve rolled the paper around the can, fold the ends into the can.  I started my folds where the paper roll ended so that the “seam” would have extra strength. After you’ve roughly folded the paper over the end of the can, go back over it and strengthen the fold.  You want this fold as tight as you can get it. Just a note, when you’re folding the paper over the can make sure that you don’t have any holes or gaps in the paper.  I ended up with a hole in the bottom of one of mine and had to re-do it. Take your can out of the cup and fold over the top to secure the shape.  You could also use a small piece of tape. Look at the pretty cups!

They're ready for potting soil!

They’re ready for potting soil

They’ll sit crooked and not straight up.  This isn’t a problem.  When you add your potting soil, they’ll be more upright.

All ready for seed!

All ready for seed!

When you fill your cups with soil, make sure that you pack the soil down as you go. It took about 3 cups of potting soil to fill each of my newspaper starter cups, just to give you an idea about how much packing down you’ll need to do with yours. Congratulations!  You’ve now got biodegradable seed starting cups!  You won’t have to do anything more when your seedlings are large enough, just plant the entire newspaper cup in your garden or container! After making my cups and getting my cherry tomato seeds planted, I used an old storage container that I had in my studio to provide the greenhouse effect that seeds need to sprout. IMG_1771

I planted ten in the hopes of having two or three of them sprout and survive long enough for me to get them in a container. I was really lucky and ended up with SIX sprouts!  They seem to be doing really well.

Do you have any seed starting tips to share?

We have cherry tomato sprouts!

We have cherry tomato sprouts!

**25 March, 2015 UPDATE**

We now have EIGHT sprouts up of the ten that we started using these cups!!  And, they sprouted considerably quicker than the seeds we started in the commercially available peat starters.  The note has been made in my gardening journal and we will ONLY be starting seeds this way from now on.

Cheap Fence for the Broke Gardener

When we moved to our acre in the country, it came without any shrubs, trees, or fences.  In fact, the gravel driveway was put in just the day before we moved in!  Anyone that’s bought a house knows just how expensive it can be, not just the price of the house, but the little things that need doing to make it feel like home.  That’s the long way of saying that we moved in broke and needed to find ways to make the outside of the house work for us in the cheapest way possible.

Duke and Molly playing inside the house.

Duke and Molly playing inside the house.

We have two rescue dogs, both “hunting” dogs.  They need space to PLAY!  All we had to offer them when we first moved was a lead anchored to the porch.  This was a disaster of epic proportions.  They were constantly getting tangled up with each other and so, couldn’t play.  Also, they were ruining what little grass we had by being able to play ONLY in a small area. Playtime in the house just isn’t the same.

I did some research and looked in to inexpensive fencing options but even the CHEAPEST fencing was going to cost hundreds of dollars and we just couldn’t afford that.  The solution I came up with was farm fencing!  For $130 and about 2 hours work, we now have a fenced in back yard.  It’s small, but we want to use most of our acre for food producing plants while still giving the dogs a safe place to run around and play.

It's a great size for the dogs to run around in.

It’s a great size for the dogs to run around in.

My math wasn’t great and I ended up buying an extra post, but it’s nice to have a spare around.  We were able to borrow both our neighbor and his post driver (they cost about $50 if you’re not lucky enough to have a neighbor with one).

Five foot T-Posts and 48 inch welded wire fencing were an affordable option for fencing in the backyard.

Five foot T-Posts and 48 inch welded wire fencing were an affordable option for fencing in the backyard.

To keep our costs as low as possible, and to keep the installation as easy as possible, we got the 48 inch X 100 foot roll of welded wire from Tractor Supply.  That’s also where we bought the 18 T-Posts.

Three clips per T-Post secure the fence.  Installing them only requires a pair of pliers.

Three clips per T-Post secure the fence. Installing them only requires a pair of pliers.

The clips are included when you purchase it this way.  I did my bad math and thought we needed 18 posts to space them every 5 feet but, I’m not a mathematician and was wrong.  We ended up spacing most of them 6 feet apart (more than secure enough for our big dogs) and leaving a slightly larger gap between two posts for the future addition of a drive through gate.

The dogs really enjoyed exploring their new play area today.  The fence even stood up to Molly running into it at full speed!  Now, I just need the weather to make that transition into full spring so that I can get some grass seed out so they’re not both dyed orange after playtime.

Duke and Molly after running around the new fenced in backyard.

  Duke and Molly after running around the new fenced in backyard.

Does anyone have any other inexpensive fencing ideas or stories?  I’d love to hear them, I’m sure we have more fencing to install here on our little acre and I’ll welcome all of the ideas and suggestions I can find.